Create Events in Minutes
Master the art of event creation with EazyTicks. Follow our simple 6-step guide and launch your event effortlessly.
Everything You Need
Complete tools to create, manage, and grow your events
Create Events
Set up events with custom details and settings
Manage Tickets
Control pricing, quantity, and ticket types
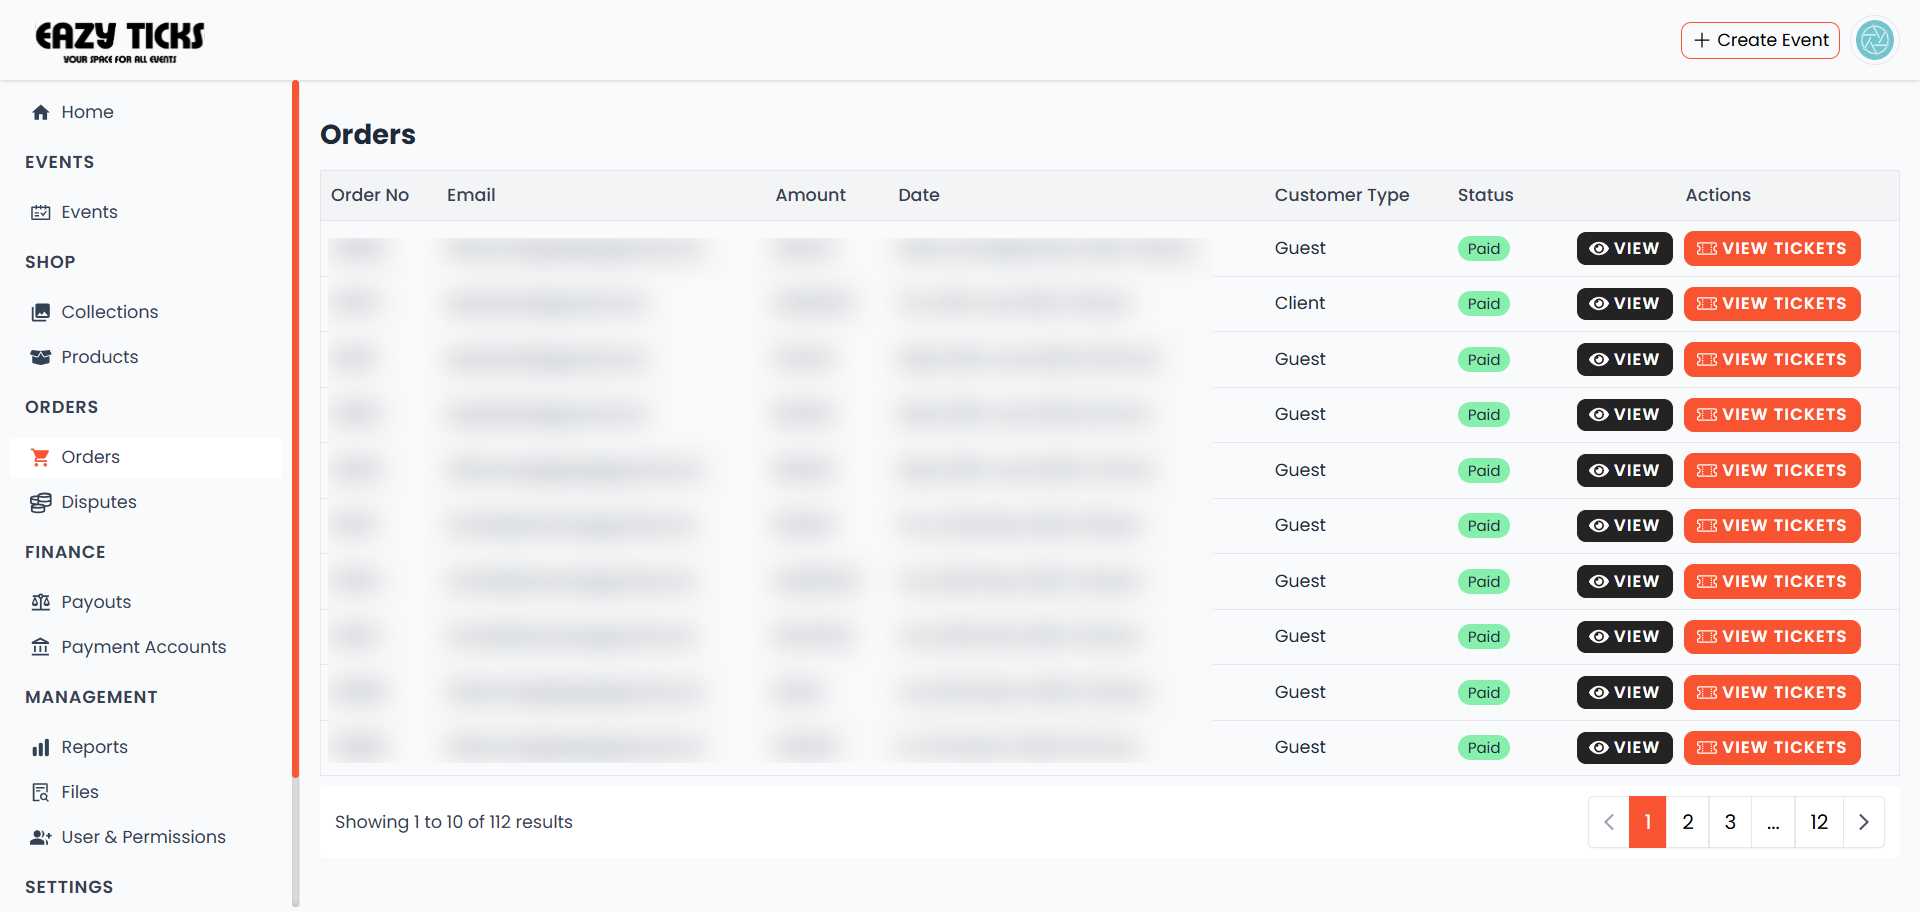
Track Sales
Monitor real-time sales and analytics
Check-In
Seamless attendee verification on the day
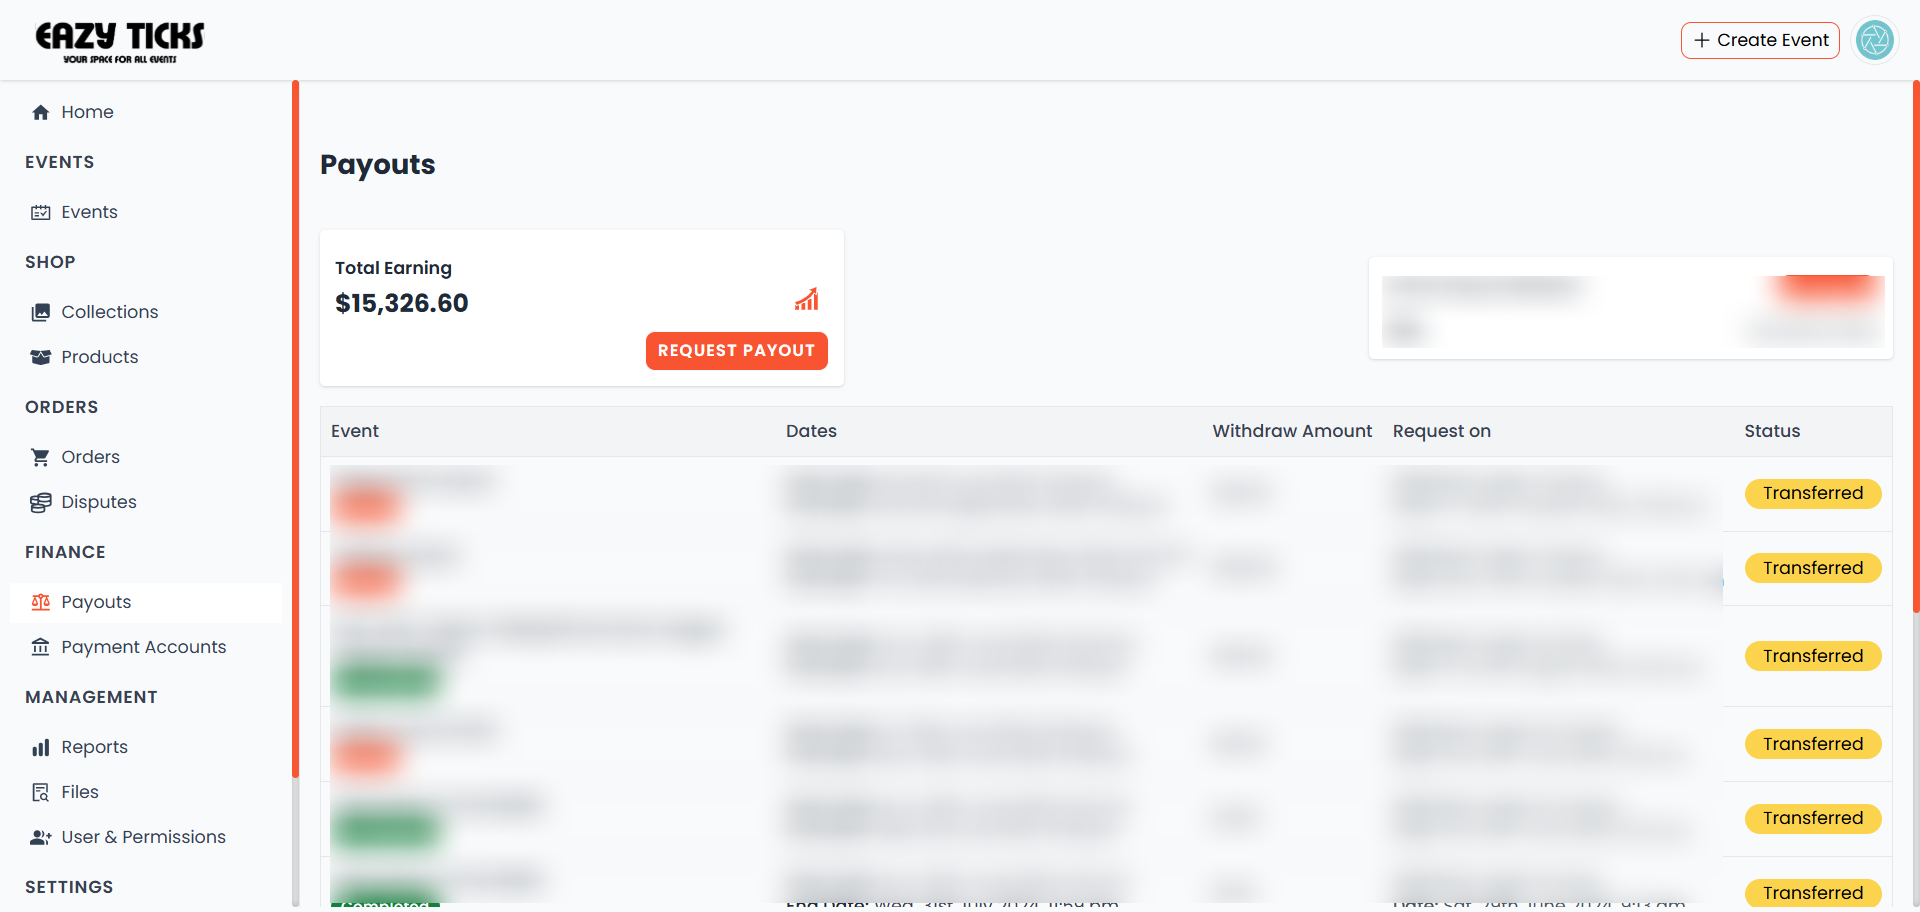
Payouts
Quick and secure payment processing
Promote
Built-in marketing tools to reach audiences
How to Sell Tickets Online
Follow these simple steps to create, publish, and promote your event on EazyTicks.
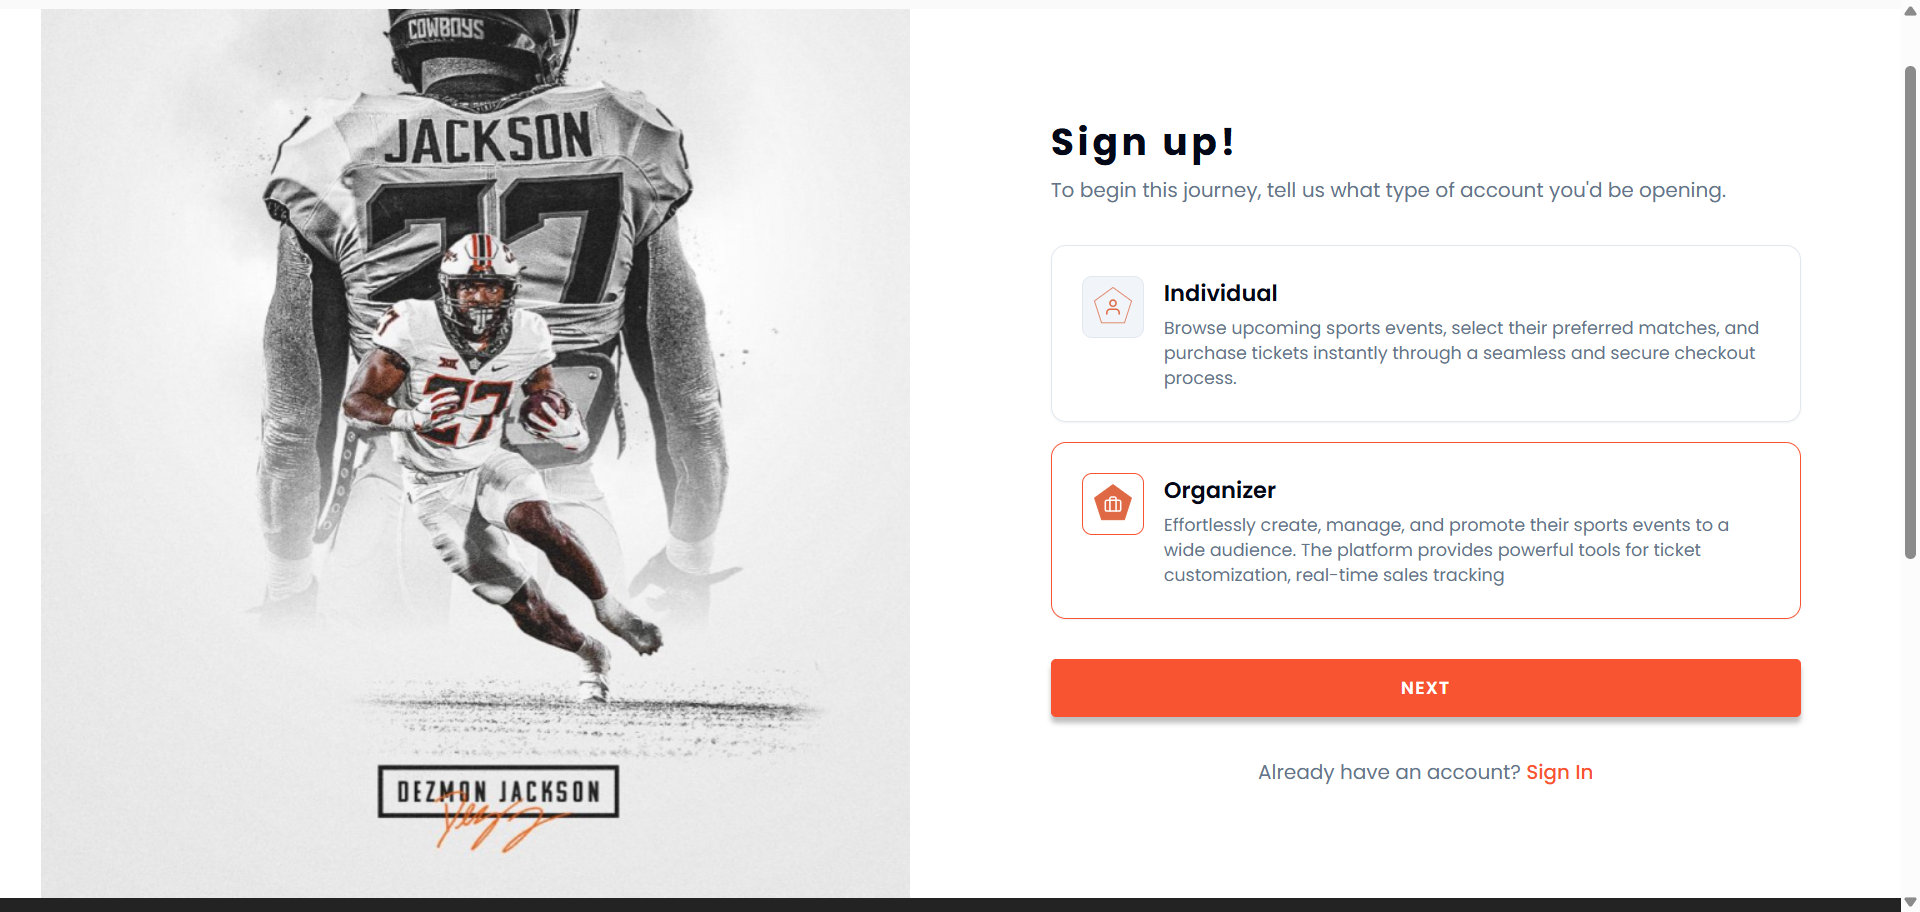
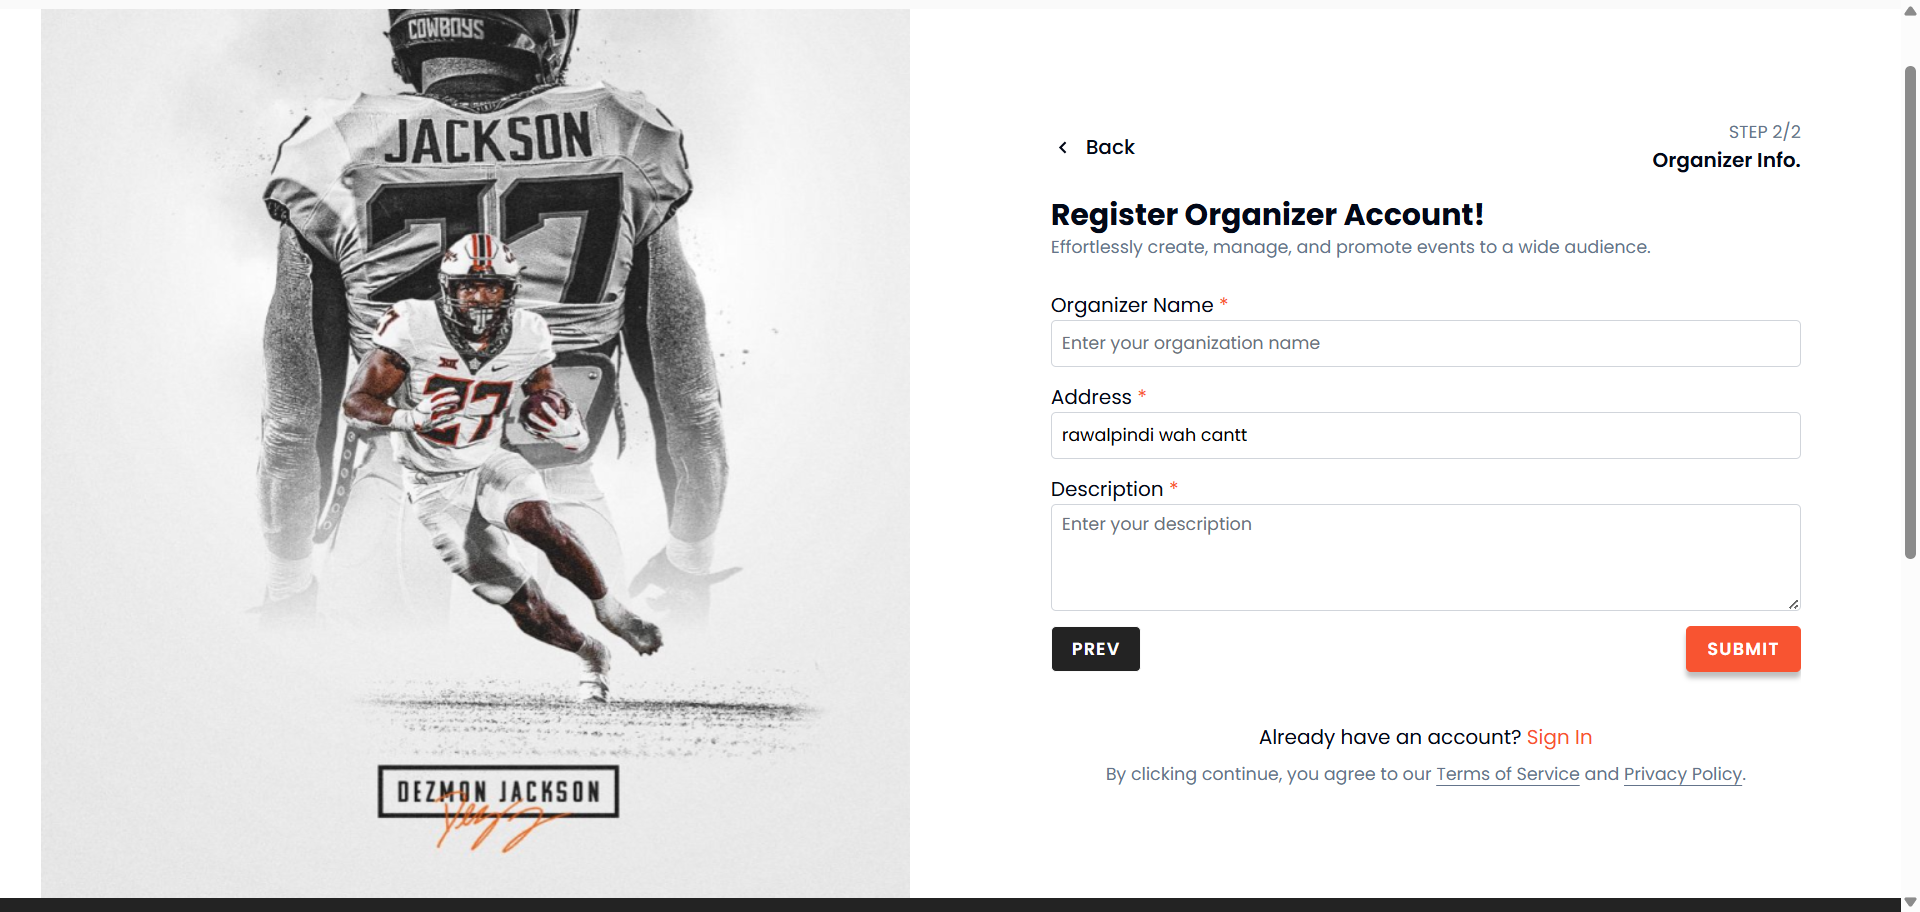
Login or Register as an Organizer
Start by creating an Organizer account or logging in if you already have one. This gives you access to the organizer dashboard where you manage all your events.
- Visit /account/signup to create a new organizer account
- Verify your email address to unlock publishing features
- Complete basic organizer details (name, bio, address)
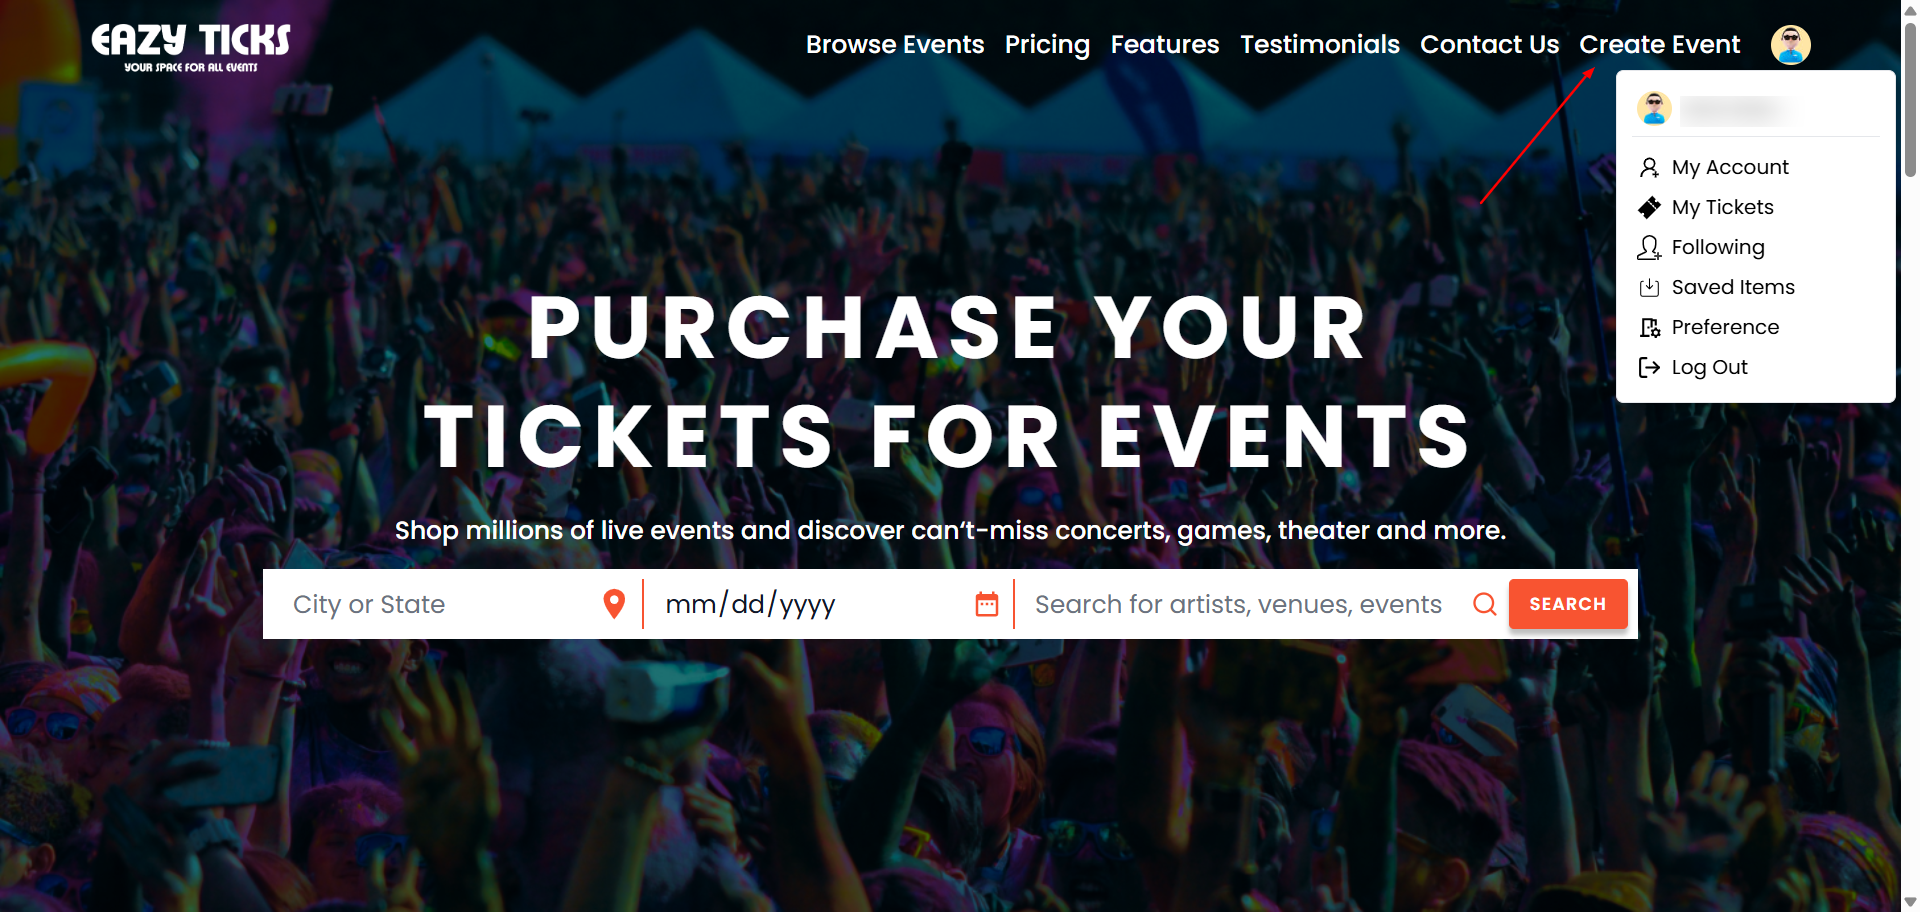

Open Your Dashboard
Access your Organizer Dashboard to create events, view sales, and manage attendees. If you're not logged in, you'll be redirected to the login page.
- Go to your dashboard (or click 'My Events' from the top nav)
- Familiarize yourself with the dashboard widgets (sales, events, payouts)
- Click 'Create Event' to start a new event
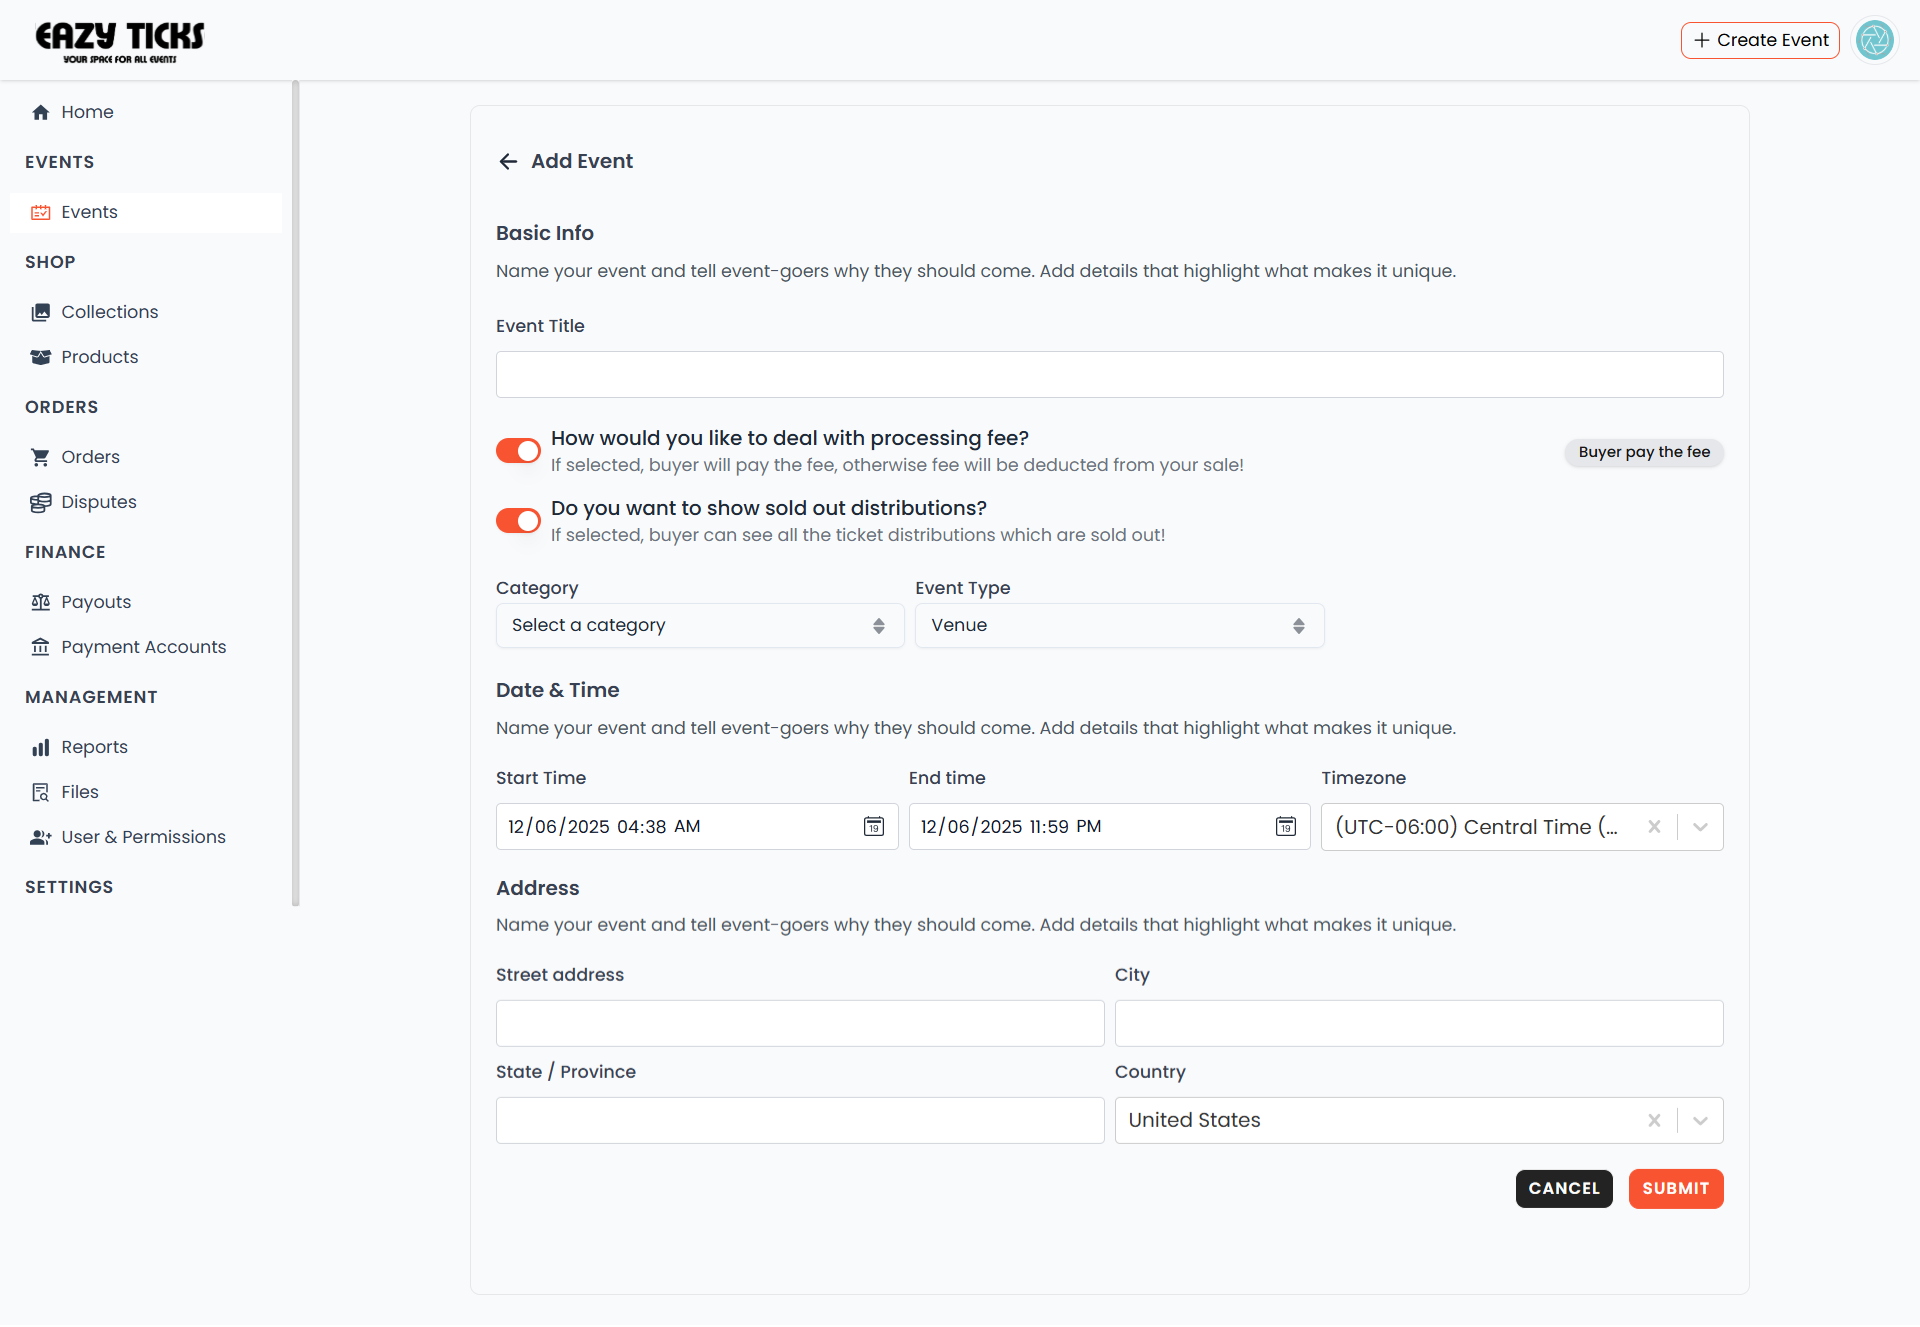
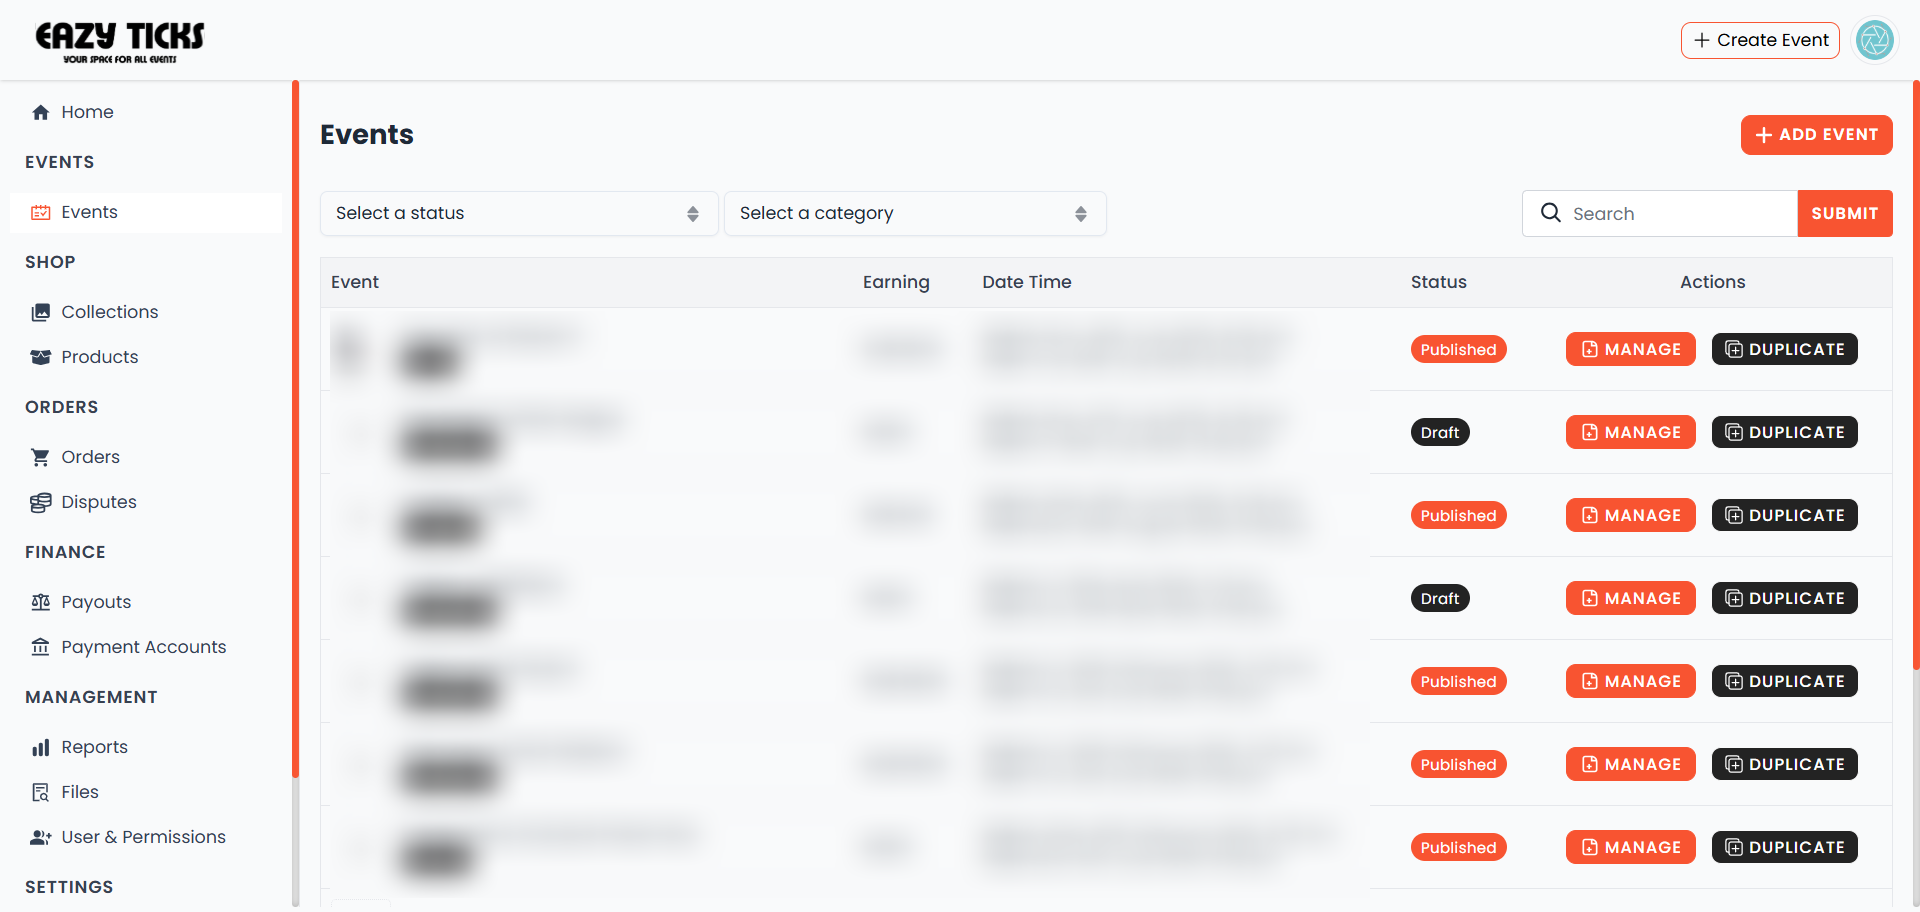
Create Your Event
Begin the event creation flow: provide your event title, type, category, and visibility settings.
- Click 'Create Event' in the dashboard
- Add event title, category, and short summary
- Choose public or unlisted visibility
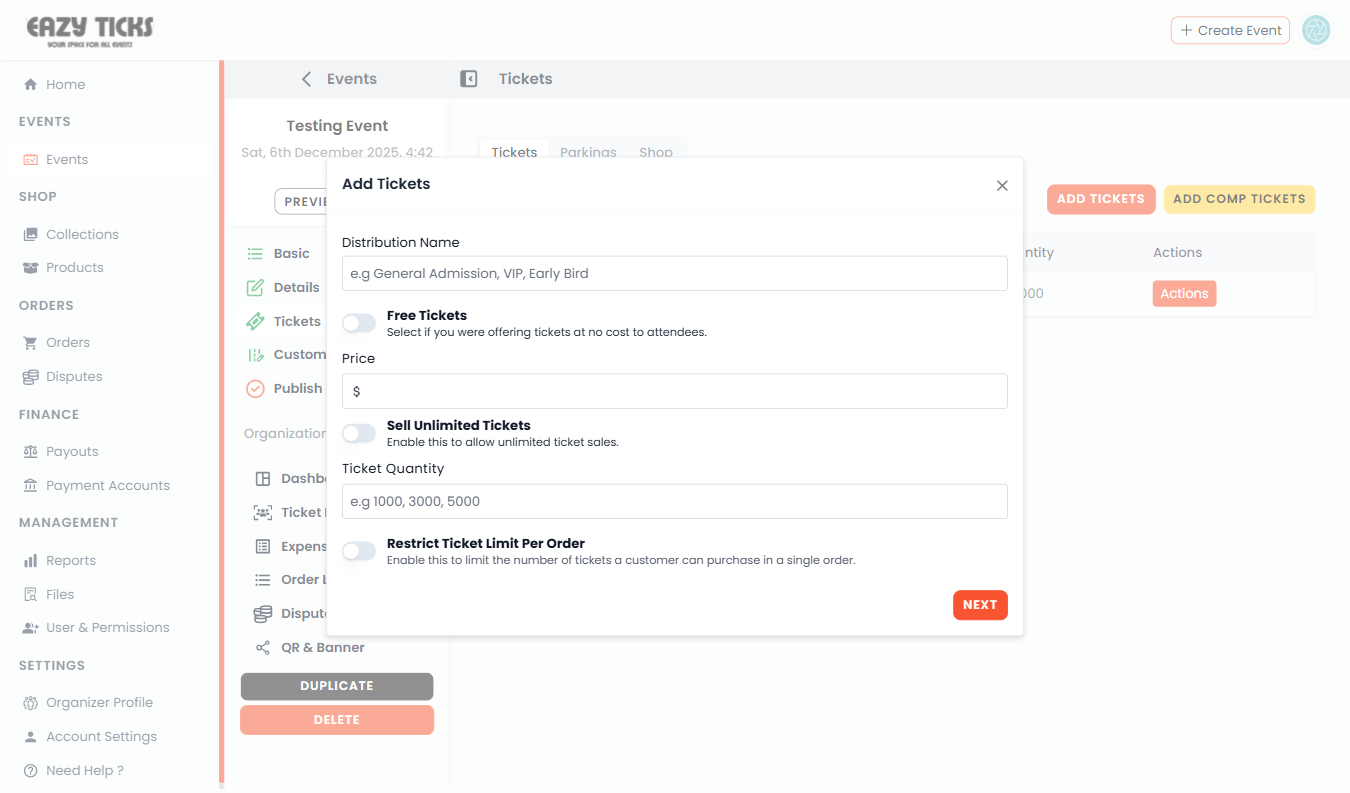
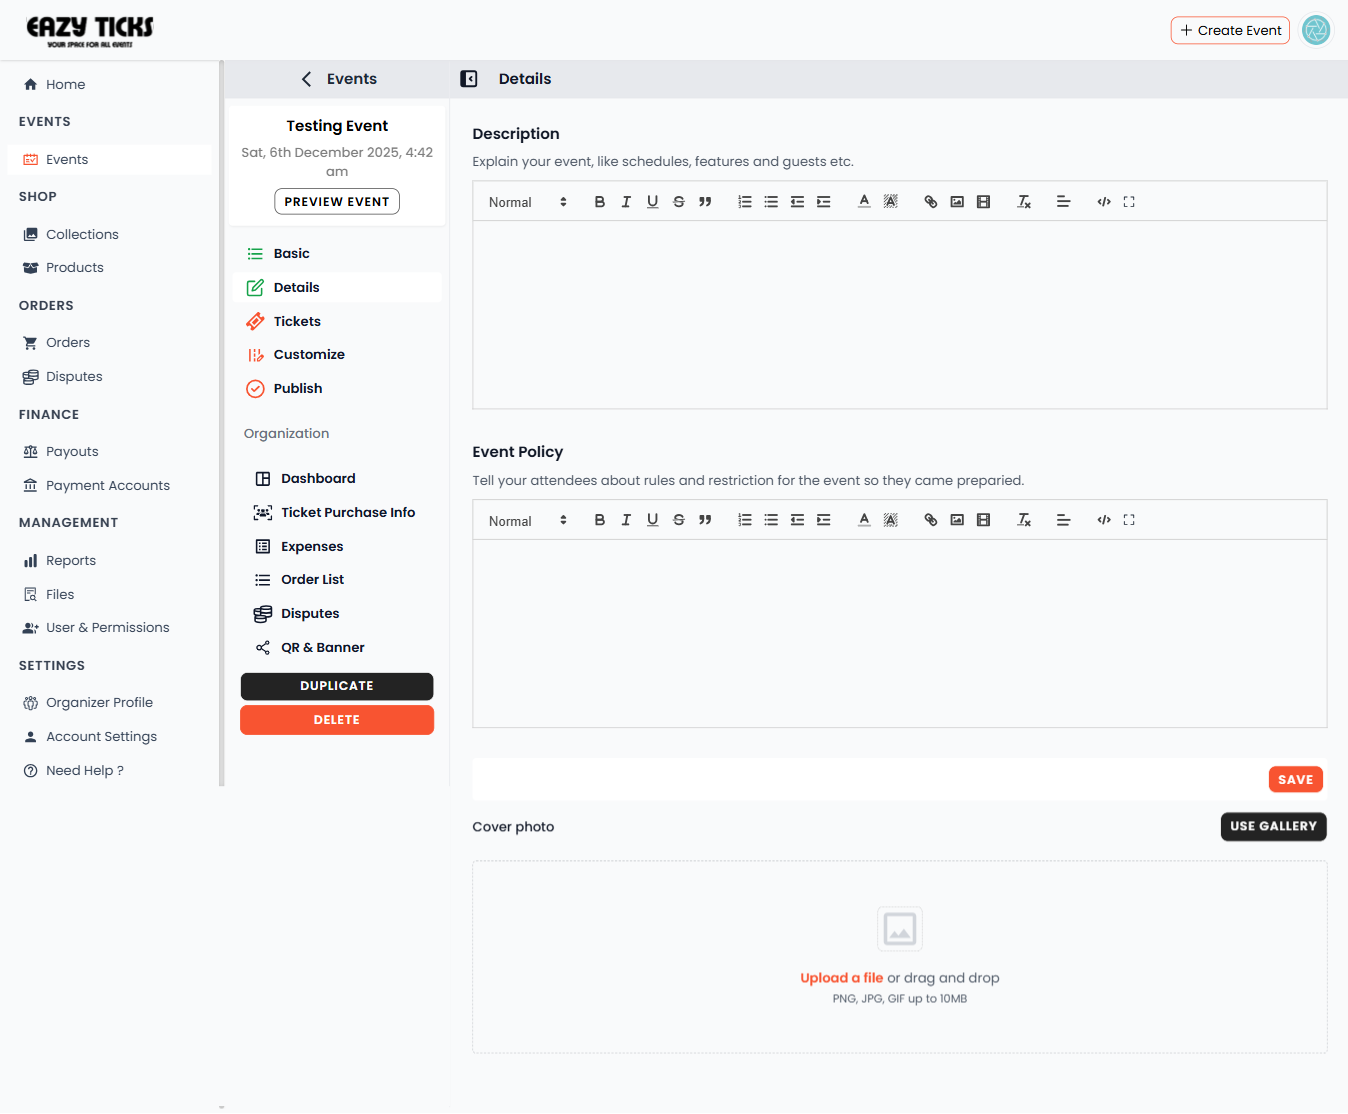
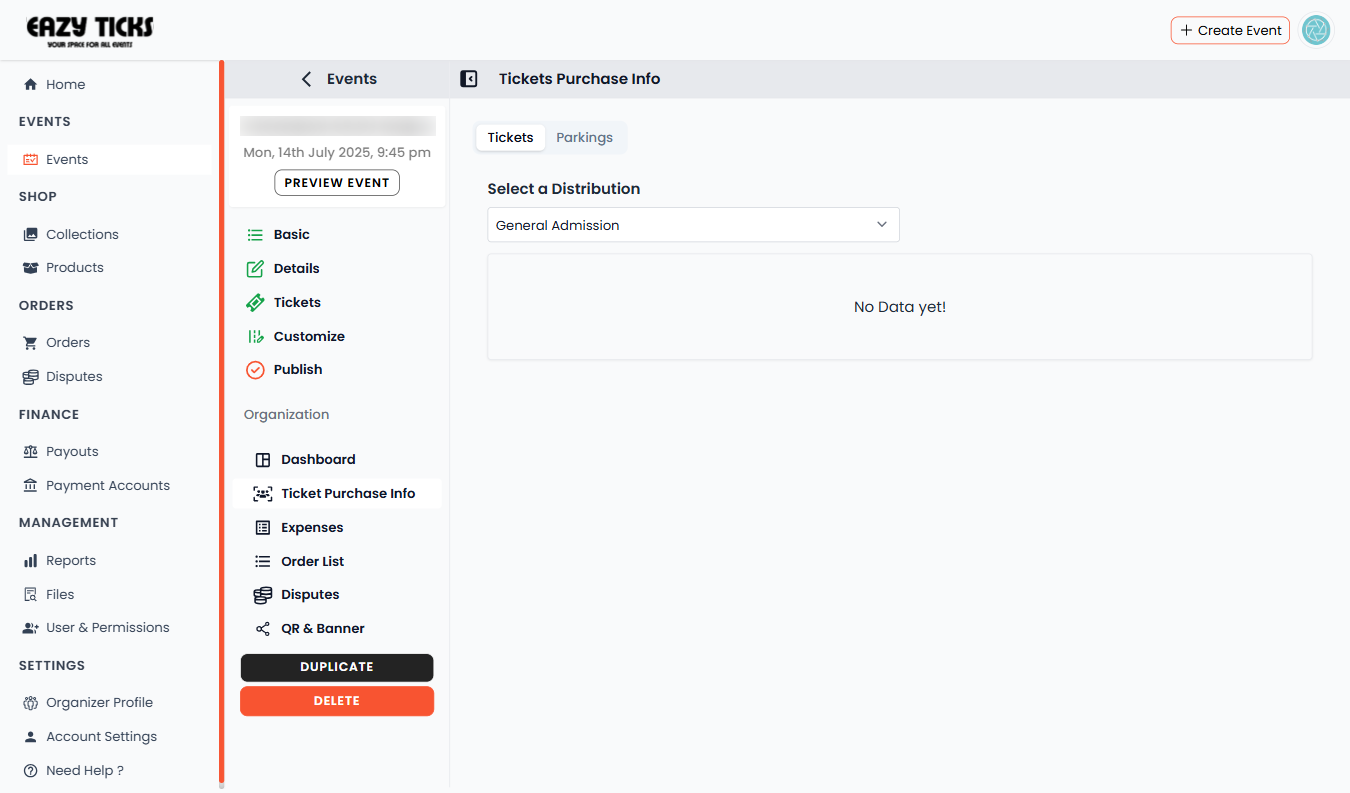
Add Details, Media & Tickets
Fill in the date/time, location, long description, upload images, and configure ticket types and pricing.
- Set date, time, and venue (use Google Maps integration if available)
- Upload a cover image and gallery images (use high-res images)
- Create ticket types (Free, General, VIP) and set limits
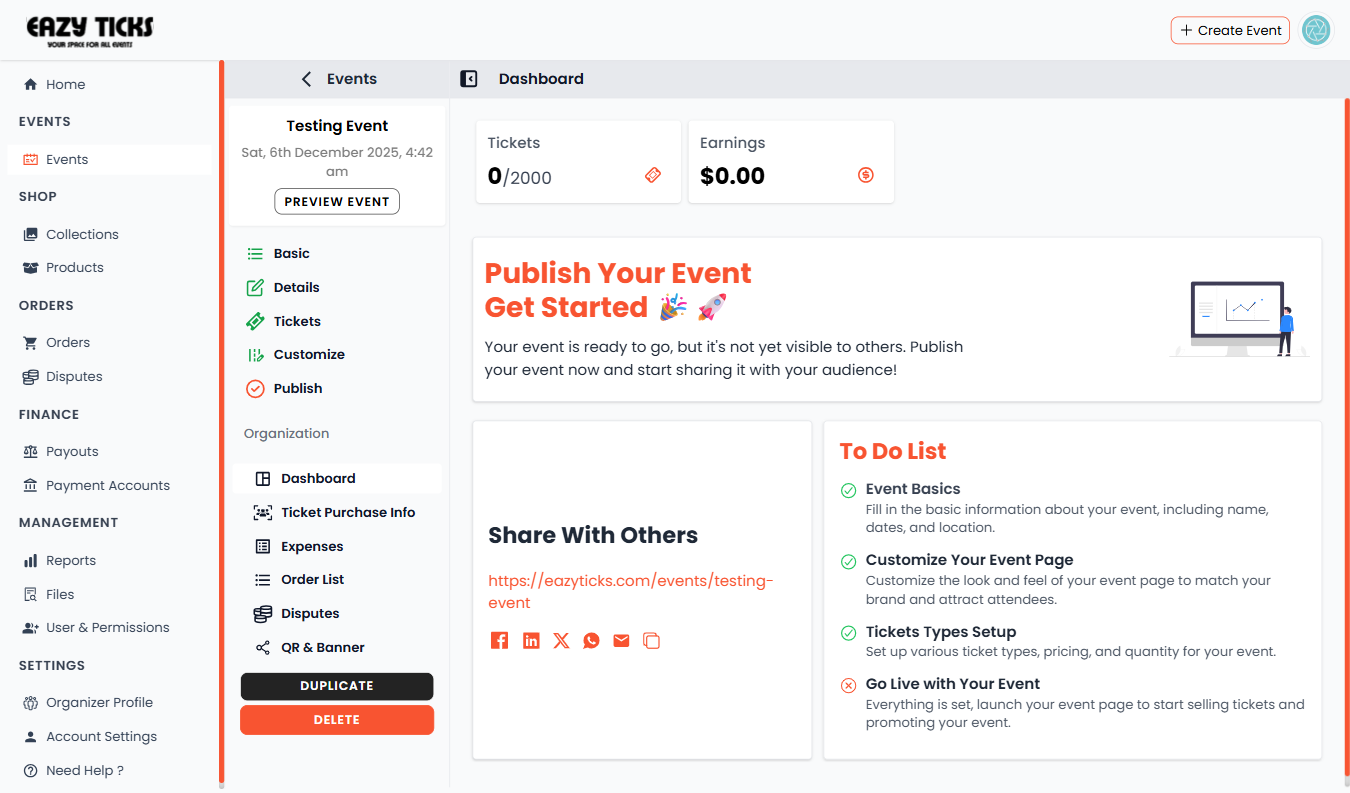

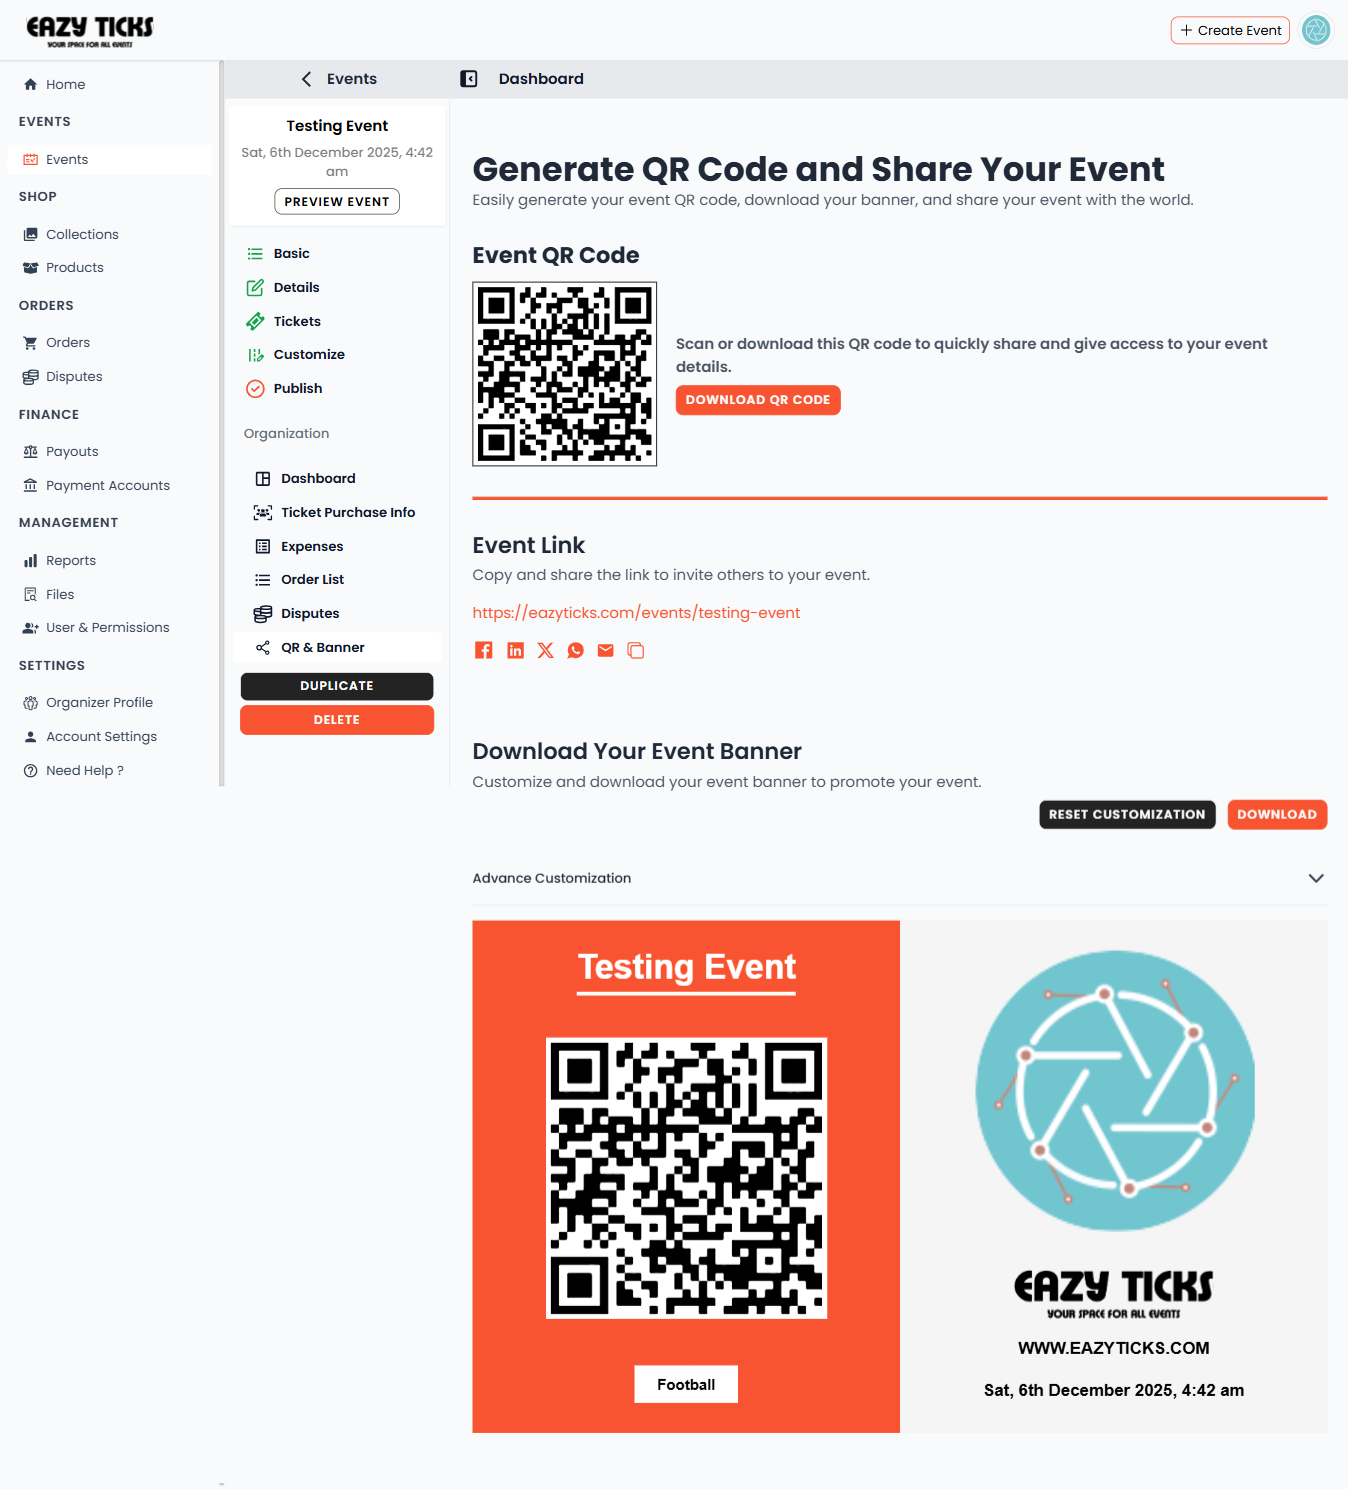
Publish & Share
Review your event preview and publish. After publishing, share via QR code, banners, and social links to drive registrations.
- Preview event page and confirm all details
- Publish your event and generate a public link
- Access QR code, banner assets, and share tools
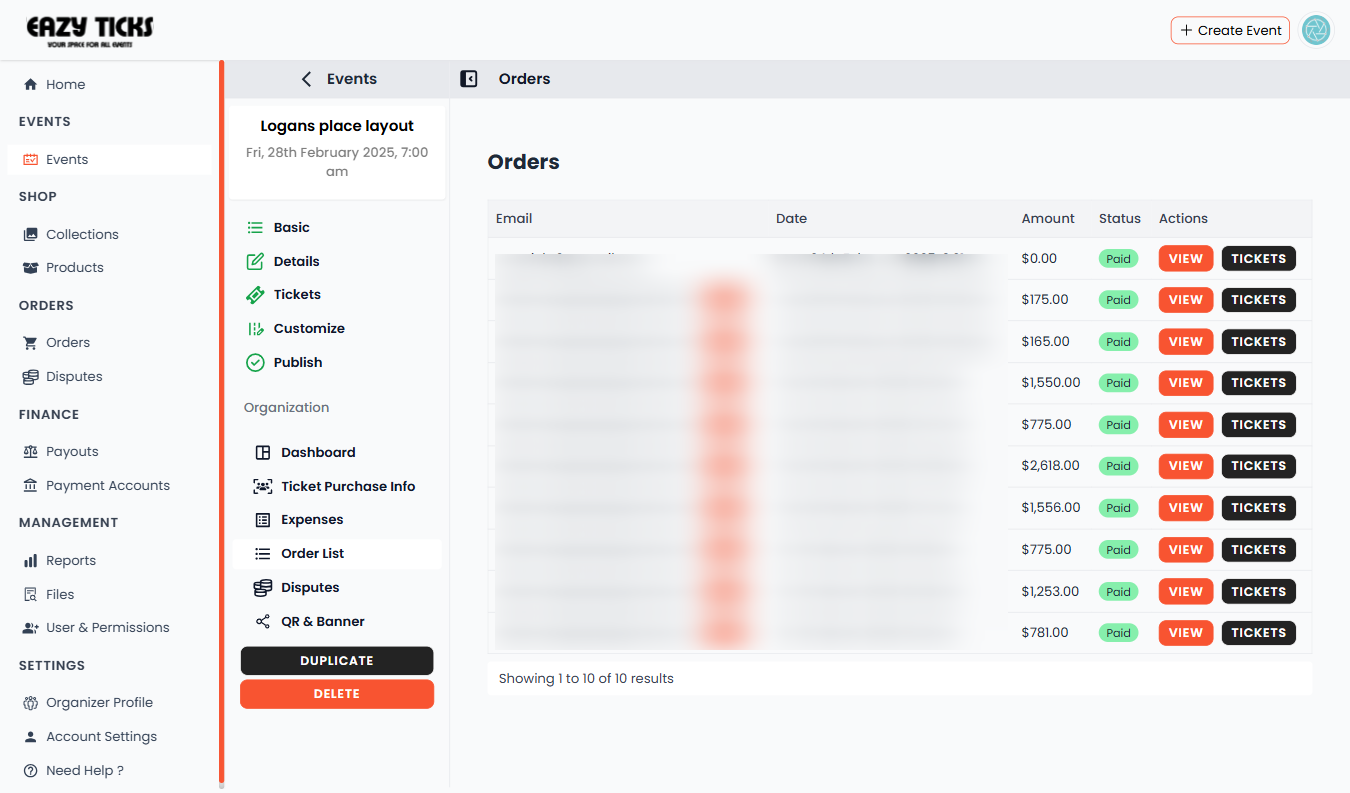
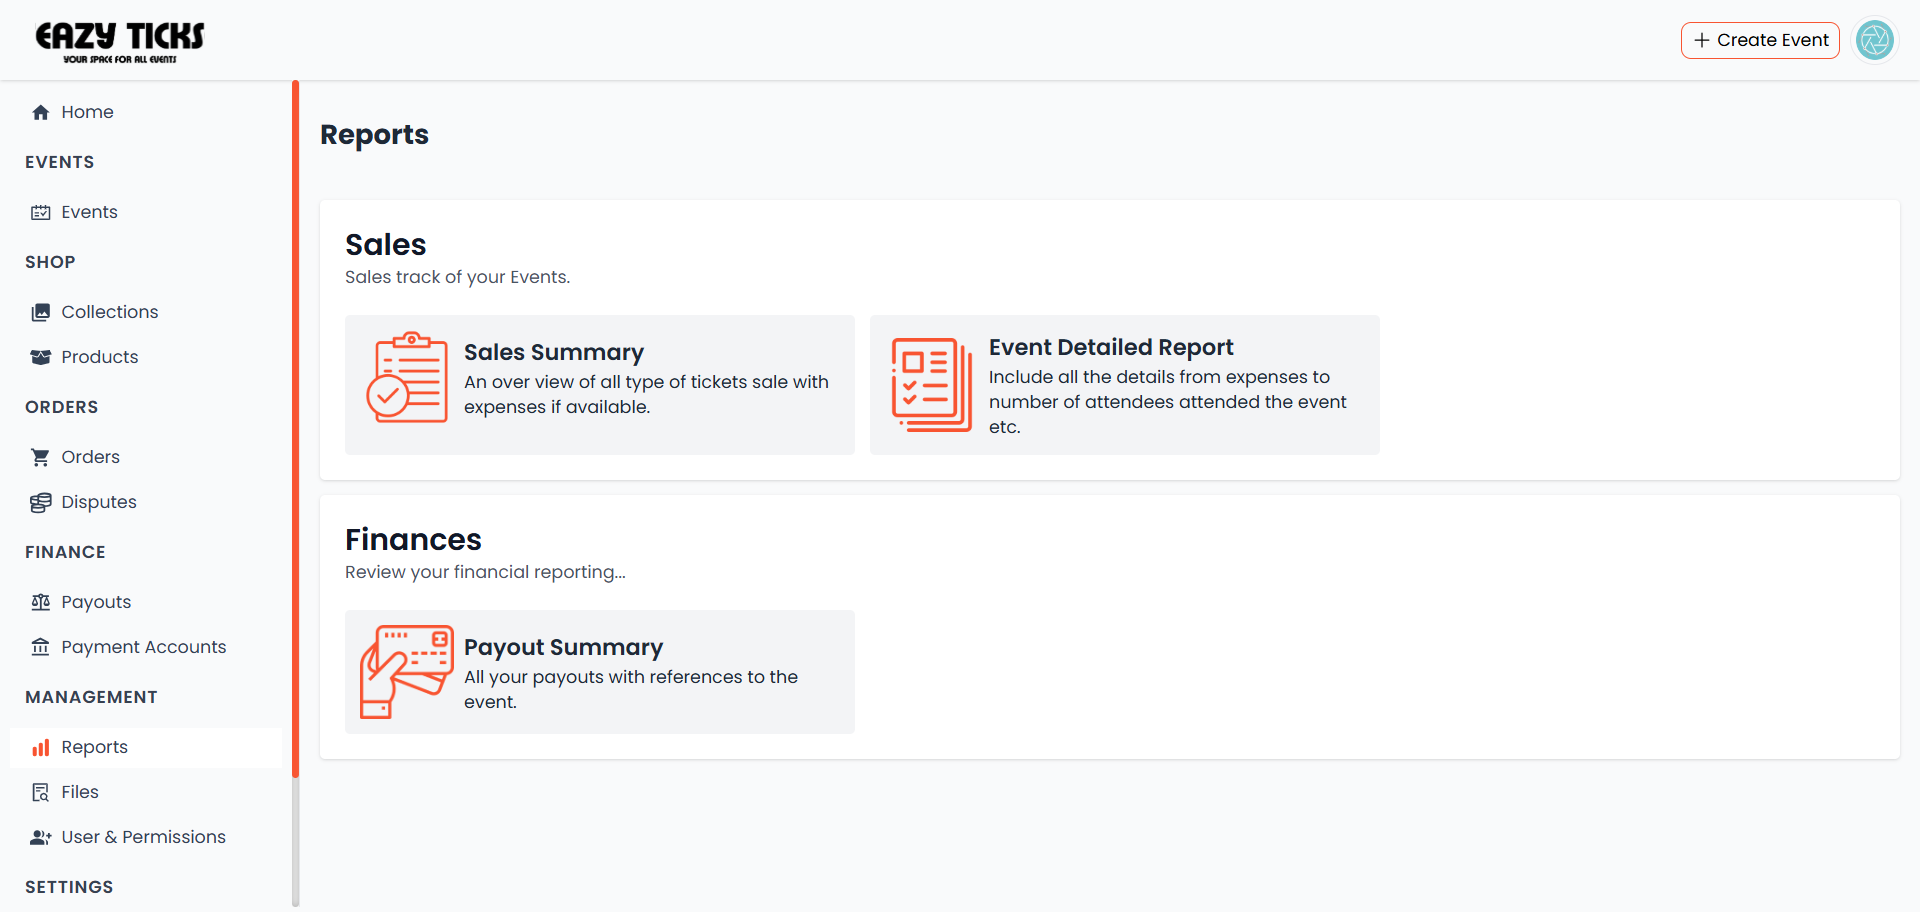
Monitor & Manage
Track sales, manage attendees, and handle check-in using the mobile scanner. Export reports and manage payouts from your dashboard.
- Monitor live ticket sales and revenue
- Export attendee list for communications
- Use the EazyTicks mobile scanner for check-in
Frequently Asked Questions
Find answers to common questions about creating events on EazyTicks
HEAR FROM THE COMMUNITY
Check Out our wall of love where EazyTicks Community members share highlights of their homes.
Ready to Launch Your Event?
Join thousands of organizers using EazyTicks to create memorable events